Click here for English version!
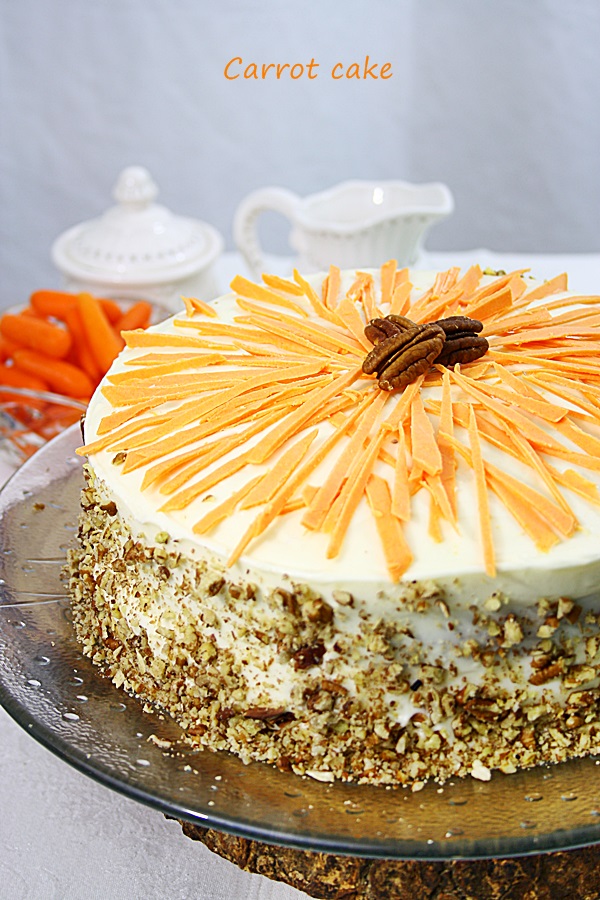 Este prima data cand fac tort de morcovi, am mancat de cateva ori in viata mea, iar pentru ca aici este foarte popular, m-am hotarat sa fac. Ultima data am cumparat de la Costco si chiar mi-a placut! Am vrut sa folosesc niste ingrediente nu foarte pretentioase, adica am tinut cu tot dinadinsul sa nu folosesc unt la blat, oricum frostingul (crema) este destul de satioasa avand in vedere ca este facuta cu crema de branza. Asa ca, folositi cu incredere retete in care se foloseste ulei, face blatul umed si divin de fraged! Untul, de obicei aduce mai multa savoare, eu prefer untul la biscuiti si anumite creme, dar la blaturi…sincer este foarte bun uleiul! Asadar, va invit sa cititi reteta. Puteti imbogati aluatul cu ce va place, mie imi plac mult nuca pecan si stafidele.
Ingrediente:
Blaturi: ies 2 blaturi
- 1 1/3 cana ulei
- 1 cana zahar tos
- 1 cana zahar brun
- 4 oua
- 450 gr morcovi rasi pe razatoarea mica
- 3 lingurite esenta vanilie
- 2 cani faina
- 1 lingurita praf de copt
- 3/4 lingurita bicarbonat de sodiu
- un praf de sare
- 1 lingurita scortisoara
- 1 cana nuci prajite (sau pecan)
- 1 cana stafide
Crema de branza (frosting):
- 2 pachete crema de branza Philadelphia, 250 gr fiecare
- 1 cana zahar pudra (sau mai mult, dupa gust)
- 1 lingurita esenta de vanilie
- 1/4 cana smantana
- 120 gr unt moale
- 1 praf sare
SAU
- 2 pachete branza Philadelphia
- 250 gr unt moale
- 4 cani zahar pudra cernut
- 2 lingurite vanilie
Primul frosting e mai lejer!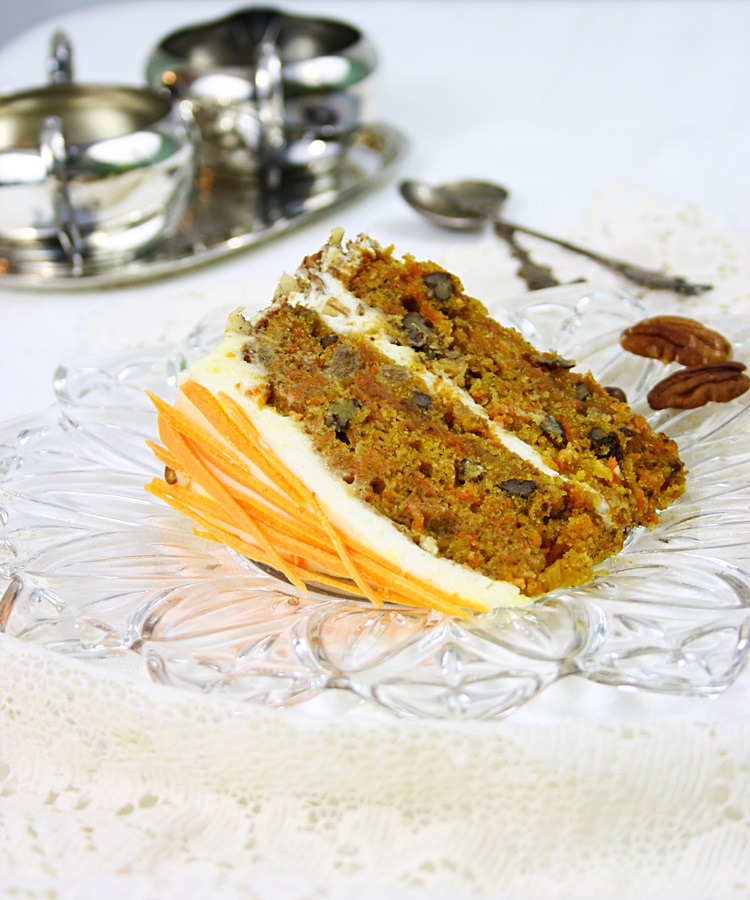 Mod de preparare:
- Mixam ouale cu zaharul pana devin cremoase si isi tripleza volumul.
- Adaugam uleiul si vanilia si incorporam.
- Intr-un vas separat, cernem ingredientele uscate: faina, praful de copt, bicarbonatul . Adaugam si sarea si scortisoara si le amestecam cu o lingura. Adaugam ingredientele uscate peste ouale batute si mixam pana la incorporare.
- La final adaugam morcovul ras pe razatoarea mica, nucile prajite si stafidele. Amestecam cu o spatula apoi rasturnam aluatul in cele 2 forme de tort in care am pus hartie de copt si le-am tapetat cu unt si faina pe margini.
- Preincalzim cuptorul la 175°C (350°F) si coacem blaturile cca 30 min, pana trec testul scobitorii.
- Le scoatem pe un gratar sa se raceasca si pregatim frostingul.
Crema de branza (frostingul):
- In primul rand untul trebuie sa fie la temperatura camerei, sa fie cat mai moale si branza sa fie la fel!
- Mixam branza pana devine cremoasa si nu se mai vad bucati prin ea. Apoi adugam untul si mixam pana define pufoasa.
- Adaugam vanilia si praful de sare apoi smantana si zaharul si mixam pana la incorporare.
- Daca facem frostingul al doilea, le fel, untul si branza sa fie la temperatura camerei!
- Le mixam foarte bine cca 4 minute apoi adaugam vanilia si sarea.
- Se aduga apoi zaharul, cate o cana, si mixam foarte bine pana devine pufoasa. Aceasta crema este mai dulce si mai pufoasa!
Secretul este sa fie branza bine mixata inainte de a adauga untul, iar untul sa fie cat mai moale, altfel o sa aveti bucati de unt in crema!
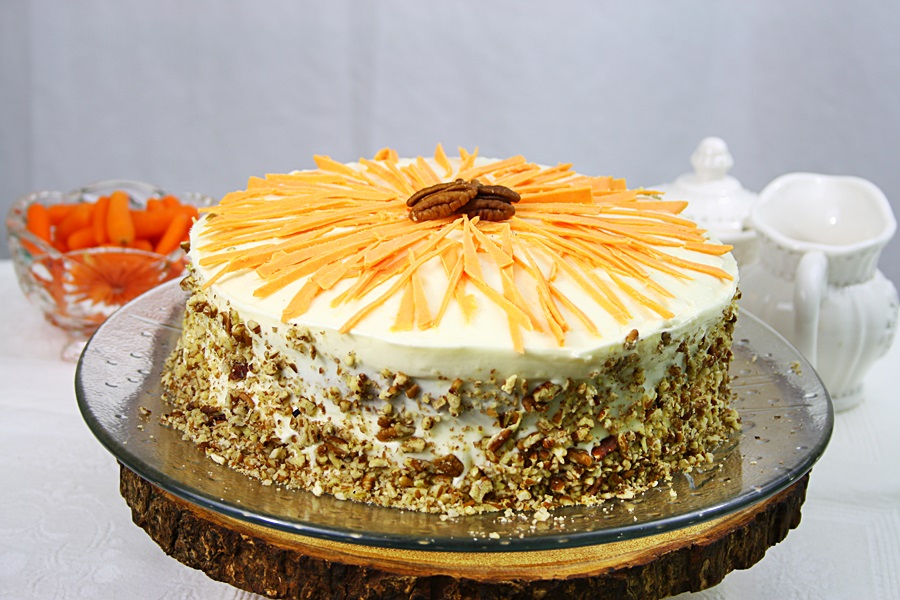
Punem crema de branza intre straturi si ornam pe margini cu restul de crema.
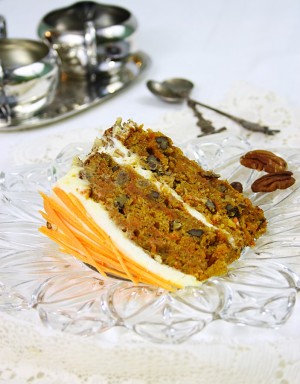
Ornam cu nuci prajite si cu ciocolata colorata in portocaliu. Pentru betigasele portocalii am topit o ciocolata alba pe bain marie si am pus colorant rosu si galben pana cand am obtinut culoarea portocalie.
Ciocolata moale am intins-o pe o foaie de copt si am bagat-o la congelator 10 minute sa se intareasca bine, apoi am taiat cu cutitul fasii lungi ca de morcov si am ornat suprafata tortului.
Este o deliciune de tort! Foarte unmed, cu bucati crocante de nuci prajite, combinat cu crema de branza si foarte aromat. Scortisoara si stafidele ii dau o aroma divina!
- 1 ⅓ cup canola oil (or vegetable oil)
- 1 cup sugar
- 1 cup brown sugar, tightly packed when measuring it out
- 4 eggs
- 3 tsp pure vanilla extract
- 2 cups flour + a little extra for the pans
- 1 tbsp ground cinnamon
- ¾ tsp baking soda
- 1 tsp baking powder
- 1 tsp salt
- 4 cups grated fresh carrots (1 lb)---use the 2nd largest grate setting
- 1 cup chopped walnuts
- 1 cup raisins
- For the Frosting:
- 1 ⅔ blocks of cream cheese (13 oz total), room temperature
- 2 sticks (8 oz. or 1 cup) butter, room temperature
- 2 tsp pure vanilla extract
- ¼ tsp salt
- 4 cups powdered sugar
- For the Cake:
- Preheat oven to 350ºF (~176ºC).
- Generously grease two 9-inch baking pans.
- Add about ¼ cup of flour to each pan and move the pan around, tapping, to get the pan coated with flour. Tap out the excess.
- In a large bowl, add the eggs and beat them well with the regular sugar and brown sugar, for about 5 minutes until becomes fluffy and triple the volume, then add oil. Mix with electric mixer, then add vanilla .
- Sift all dry ingredients and mix them with a spatula then add them into the eggs.Then use the electric mixer to incorporate all the ingredients together until just combined. Don’t over beat.
- Use a spatula/large spoon to stir in carrots, walnuts, and raisins.
- Pour this batter evenly between both cake pans and put the pans in the oven for 30 minutes or until a tooth stick comes out clean.
- Allow cakes to cool completely on a wire rack.
- For the Frosting:
- In a medium-large bowl, beat together cream cheese and butter using an electric mixer.
- Mix in sugar, vanilla, and salt. Beat well.
- It is very important that the cream cheese and the butter to be room temperature and beat the cream cheese first until no lumps seen. If the butter is not soft enough you will have butter lumps in the frosting and I don't think you will like it 😉
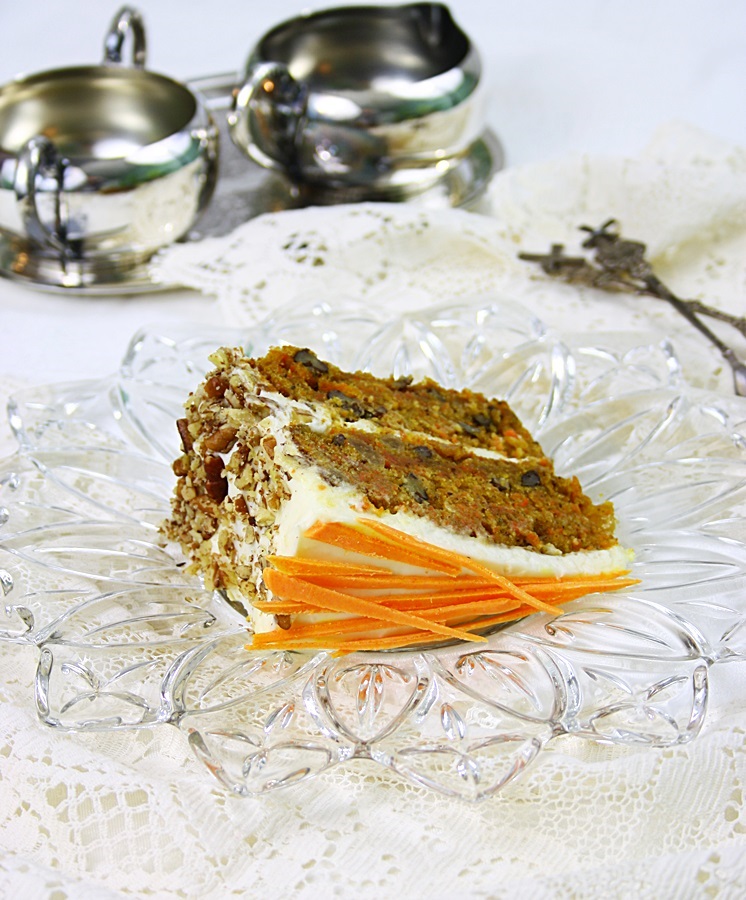
- Frost the first cake layer with about ⅓ of the frosting. Top with the other cake layer and frost the rest of the cake with the remaining frosting.
- For the orange decor, I used a white chocolate which i melted the I added red and yellow food color until I've got the orange colour. I spread it over a parchment paper then I put it in the freezer for 10 minutes to harden. I cut stripes of chocolate and decorated the cake the way it is...
- Enjoy!





Wow it looks very tasty!
greets
NJ-Cook4You
Thank you! I hope you will also try it 😉
Gabriela
Foarte bune retetele, foarte bun site!
Am facut si eu multe din retetele tale.Este unul din siteurile preferate de bucatarie.
Felicitari, si la cat mai multe retete!
Ma bucur nespus Mihaela! sper sa ramai fidela site-ului iar eu promit sa imi fac timp sa postez retete noi 😉
Pupici <3
Good looking, tasty and easy to make!
Thanks for sharing.
Pup iubita mea!